
 Deutsch
 Français
 Español
 Português
 Italiano
 Русский
 Türkçe
 日本語
日本語 한국어
한국어 简体中文
简体中文 Polski
 ไทย
ไทย Tiếng Việt
 Bahasa Indonesia
EASYNODE FOR BTX · GUIDE
Run a BTX node in 5 steps
No terminal, no config files. If you can install an app, you can run a full node.
- 1
Download and open
Grab easyNode for BTX from the download buttons for your platform:
Mac (Apple Silicon): open the .dmg and drag the app to Applications. It installs under the name easyBTX Node, so that is what you will see in Applications and in the paths below. The first time, right-click the app and choose Open. macOS asks once because the build is community-signed.
Windows (x64): run the installer, or run the Linux build under WSL2. Both work; the note below says which to pick.
Linux (x86_64): make the AppImage executable and run it, or install the .deb withsudo apt install ./BTX-Node_0.7.15_amd64.deb.If macOS instead says easyBTX Node is “damaged” or “can’t be opened,” that’s just the download-quarantine flag on an unsigned app. Clear it once in Terminal (Applications → Utilities → Terminal), then open the app normally:
xattr -dr com.apple.quarantine "/Applications/easyBTX Node.app"That command only clears the “downloaded from the internet” tag; it doesn’t change the app. It’s safe.
One honest warning before you start, for every platform. Each published build follows the chain up to a block and then stops. Which block depends on the build.
Mac. The published Mac build is 0.7.12, released 12 October with the BTX 0.34.15 engine, up from 0.34.12, the same engine commit the Linux and Windows builds carry. After the 23 September split the valid chain is the one whose block 227,313 is
d5f0e92f…, not the longer one, and 0.34.15 keeps a node that checks blocks on it. An M2 Pro checks fewer blocks a minute than the chain produces, so a Mac of that class does not catch up by checking. A Mac with an M1 to M4 checks blocks on its GPU; an M5 follows the chain the validators have signed. It shows you in amber when a longer chain exists that your node cannot obtain blocks for, and it follows the chain with the most work instead of parking a deep reorganisation. Which chain any reachable node follows is measured on the node census. A Mac still on 0.6.12 or earlier stops at block 199,299: BTX published a change to a difficulty rule at that height on 25 August 2026 and withdrew it two days later, and those builds still carry the withdrawn rule. Your coins are not affected. A node reads the chain, it does not hold your keys. Updating is what starts such a Mac again: download 0.7.12 from the node page. Linux and Windows moved to 0.7.13 on 13 October and to 0.7.14 and 0.7.15 on 14 October, and the Mac build of 0.7.15 follows once it is made on a Mac. Until then the app's own update check offers a Mac nothing, so a Mac on 0.7.11 or older needs that download by hand.Windows, the way that works. Run the Linux build under WSL2. This is exactly how we run and verify it ourselves, on a Windows machine with WSL2 and an RTX 3060. Once, in PowerShell:
wsl --install -d Ubuntu, then reboot and open Ubuntu from the Start menu. Inside Ubuntu, download the AppImage from the node page, make it executable withchmod +x BTX-Node_0.7.15_amd64.AppImage, and run it. Your NVIDIA card is visible inside WSL2 with the standard Windows driver, nothing extra to install. A copy run this way also updates itself like any Linux copy.Windows, natively. 0.7.15 is the current native Windows build; 0.6.21 was the first since 0.6.6. It carries BTX's tagged 0.34.15 engine, up from 0.34.12, the same commit as Linux. BTX publishes no Windows binaries of its own engine, so we cross-compile it and smoke it on a real Windows machine before it ships. A copy still on 0.6.6 is offered this update directly, and wants it: that engine predates the BTX consensus release of 17 August 2026, so it syncs normally and then parks at block 191,713, or at 184,999 if it checks blocks on the processor. Which route to pick: the native engine is built without any GPU code, so it never checks blocks itself. It runs as a trusted mirror and follows the signed chain, and from 0.6.29 that holds with an NVIDIA card too. To have a Windows PC check blocks with its card, use WSL2, which runs the Linux engine with its GPU kernels; it is also the route we have verified against a GPU.
Linux. The published Linux build is 0.7.15, with BTX's tagged 0.34.15 engine, up from 0.34.12, which keeps a node that checks blocks on the valid chain after the 23 September split, the one whose block 227,313 is
d5f0e92f…. 0.6.26 made a machine with a capable card sign confirmations for the mirrors that cannot check blocks themselves, and offer its public key so a mirror operator can pin it. 0.6.22 tells you when its own newest block is more than two hours old, which a stuck set of peers cannot fake; 0.6.23 shows which role your node fills and writes every self-update check to a log. 0.6.20 added one thing worth switching on: your node can answer which block sits at a given height, which is how a wallet checks it is on the right chain. It costs almost nothing and works on a node of any size, because it reads the list of blocks rather than the blocks. On 5 September the network split at block 210,496 and our own validator sat on the minority branch for twenty hours before rejoining the live chain; 0.6.21 shows you in amber when a longer chain exists that your node cannot obtain, follows the chain with the most work. With a suitable NVIDIA card (verified on an RTX 3060) the node proves itself at startup and validates blocks as a full consensus validator. Without one, since 0.6.23, the node runs as a trusted mirror: it follows the chain the network's validators have signed and serves history to other nodes, but it does not check the block maths itself. Earlier builds on such a machine started, followed headers, and stalled. The download is about 469 MB because the engine and its GPU math library travel inside the app.On any platform, the free BTX Node Guardian tells you which kind of stall you are looking at, whether the network is waiting or your own node is behind.
Updates reach Linux and Windows first this time. 0.7.15, like 0.7.13 and 0.7.14, carries a build for Linux and Windows, so copies there from 0.6.0 onward are offered it, including a Windows copy still on 0.6.6. Its Mac build follows once it is made on a Mac, as in 0.6.22 and 0.6.26, when the Mac build followed by a day; 0.7.6 shipped for Linux and Windows only, and its Mac build was never made. A platform a release skips checks, finds nothing for itself, and stays on the version it has, even when that is older than its platform's last build. The automatic check stays silent about that; pressing Check now on a skipped platform says the current release has no build for it. Download by hand from the node page when you need a newer build.
- 2
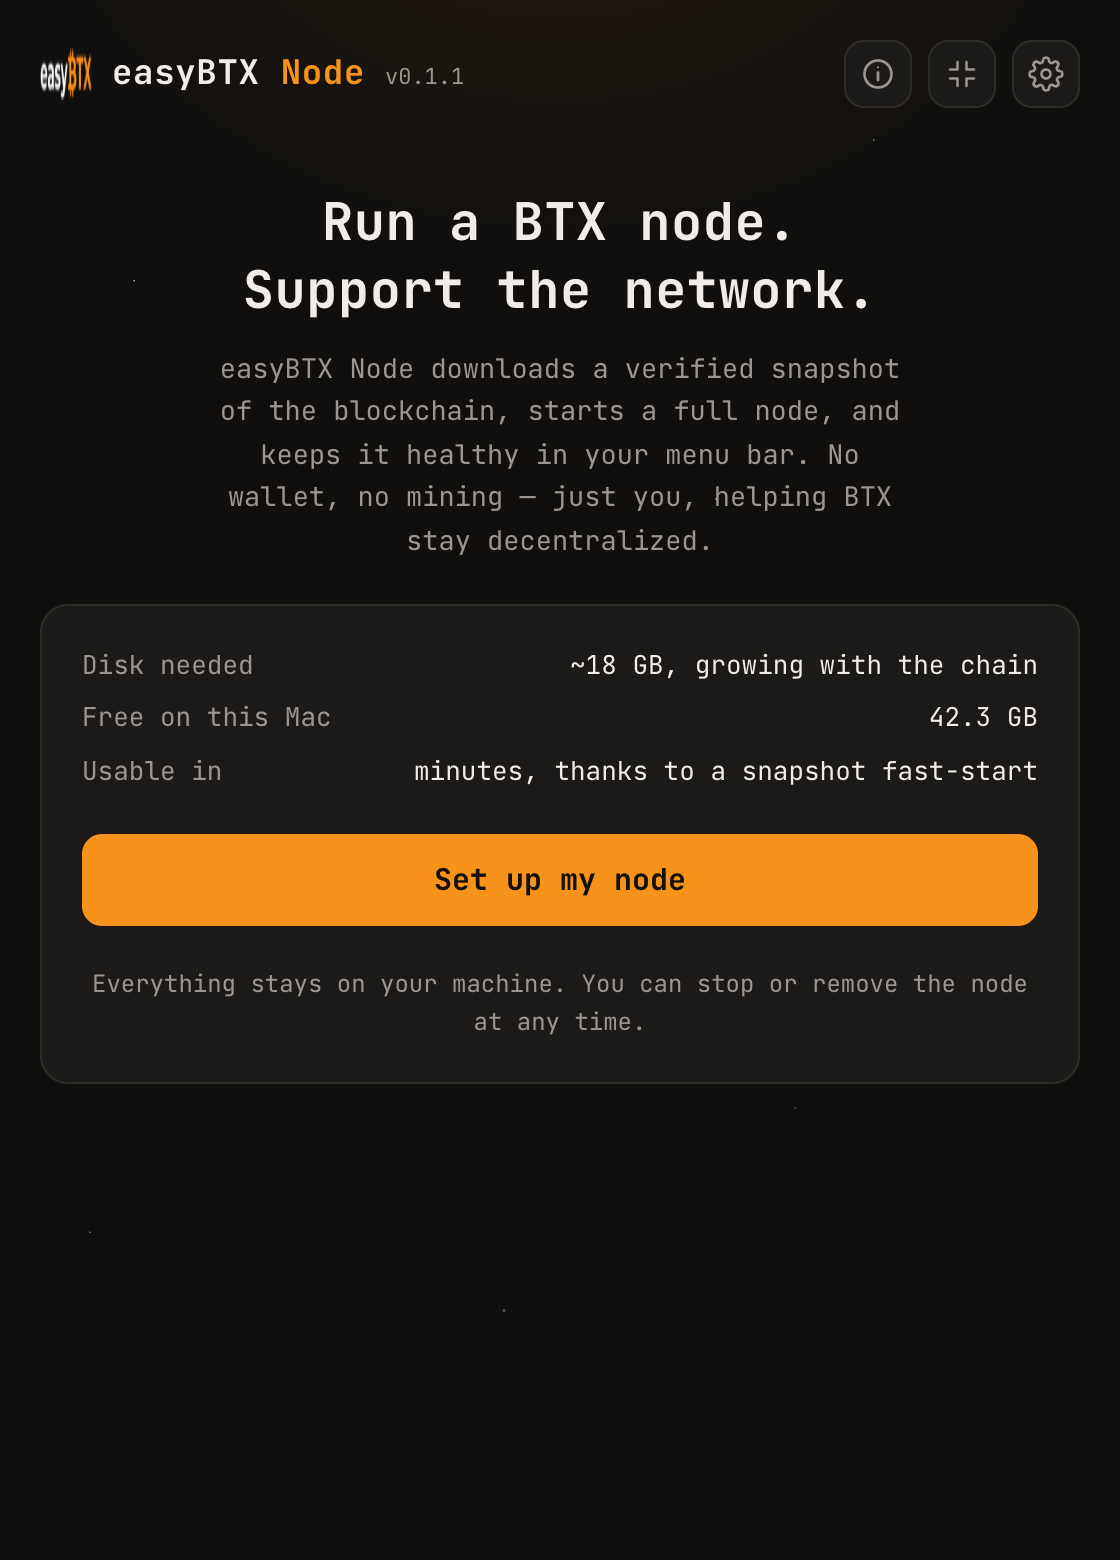
Click "Set up my node"
The app checks your free disk space first and tells you before it starts, not after: the chain itself measured about 124 GiB in early September, and the app asks for 140 GiB free so the sync has room to finish. One click begins the setup.
- 3
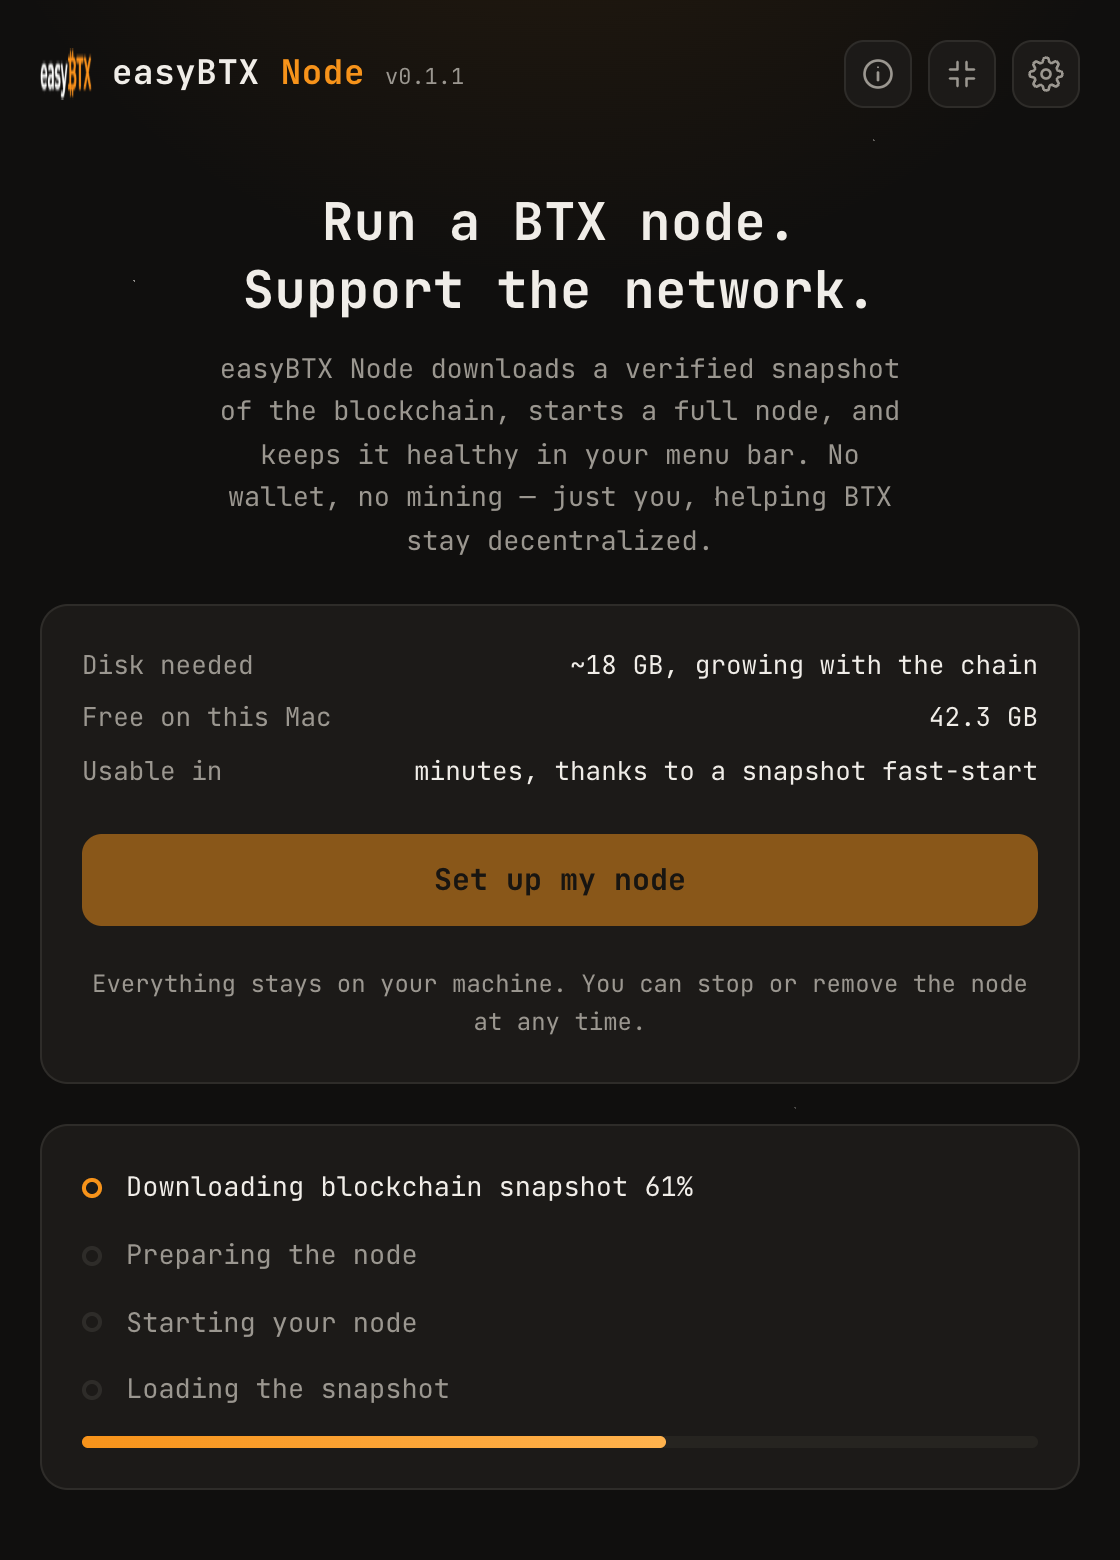
Watch it come alive
The app downloads a checksum-verified snapshot of the blockchain (9.3 MB on the newest builds, ~450 MB on older ones), starts your node, and loads the snapshot. Your node is usable the same evening; the full history keeps filling in quietly in the background.
- 4
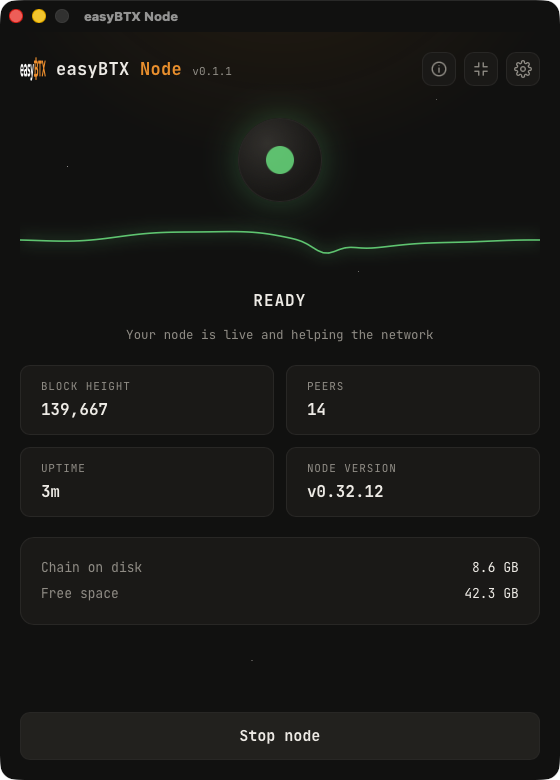
Green means helping
When the orb turns green, your node is live: verifying blocks, relaying to peers, holding its own copy of the chain. The frequency line under the orb plays a gentle note each time a new block arrives.
- 5
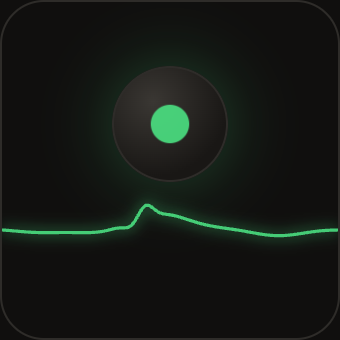
Let it live in the corner
Close the window; the node keeps running in your menu bar or system tray. Or press the compact button and keep just the little light on your desktop. Settings has two looks (a calm line or an energy pulse), launch-at-login, keep-awake, four colors, and one-click disk reclaim. Stop anytime; nothing is locked in.
Good to know
- Disk is the real cost up front, and much less over time than it used to be: about 124 GiB of blocks today, then roughly 8 MB a day. The million-byte blocks stopped at the proof-of-work change at block 185,000, and the measured average since 10 August is 8.4 kB a block — so the chain now adds a few GB a year, not a GB a day. The app shows it, warns early, and can remove the chain again anytime.
- Power is not: we measured it, about an LED bulb while syncing, much less at the tip.
- There are no node rewards on BTX today. This is for the network.
- On Mac, Settings has a Keeper mode switch: it runs a pruned node, roughly 10 GB instead of about 124 GiB, that serves signed block confirmations to other machines.